
We tend to think of the fixtures in our home solely as design elements but they are so much more than that. Did your cabinets come with your home? Did you purchase new cabinets and select every detail from the door style to the crown molding? More than an expression of your personal style, your cabinetry is a major investment. It is perhaps one of the most expensive items under your roof.
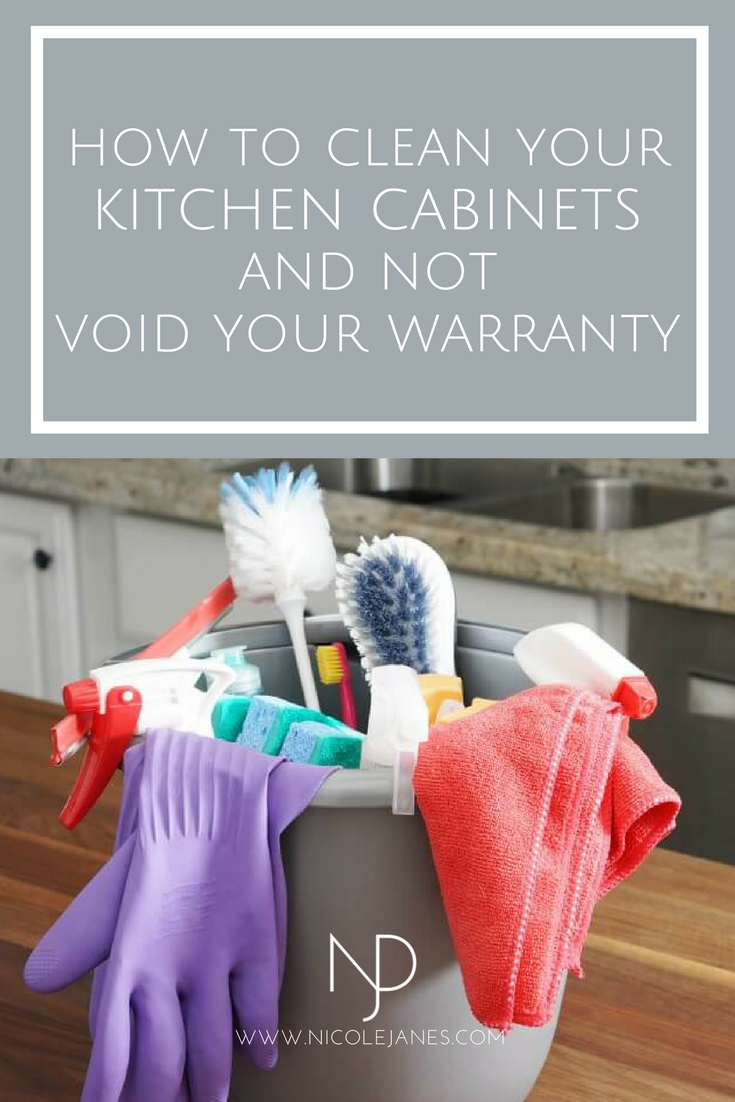
There are a few simple things you can do to ensure your cabinetry continues to look and function like new for years to come. To start, we recommend wiping up cooking spills and splatters immediately, regular dusting along with a yearly deep cleaning. Follow these guidelines recommended by our cabinet manufacture to help maintain your investment (and warranty).
*Some cleaning products may contain ingredients that will damage the cabinets finish. Always test new products on a hidden spot before using.
CLEANING GUIDELINES
A soft cotton cloth dampened with warm water is usually sufficient to clean your cabinets. If more thorough cleaning is required, use a fresh solution of mild dish soap mixed with warm water. After cleaning, wipe all surfaces with a clean, damp cloth. Dry immediately using another soft, clean cloth.

CLEANING PRODUCTS TO AVOID
The following cleaning products are to be avoided, as damage may occur:
• Harsh detergents, strong soaps, abrasive cleaning products, such as tub and sink cleansers, scouring powder, scouring pads, steel wool or self-polishing waxes
• Sponges or dish cloths; they may contain particles that could scratch your cabinets, or they may contain food and oil residue or remnants of harsh cleaning solutions
• Solvent-based or petroleum-based products such as mineral spirits, nail-polish removers or paint thinners
• Ammonia or cleaning products that include ammonia
• Bleach or cleaning products that include bleach
• Silicone-based cleaning, waxing, or polishing products
SPILLS AND SPLATTERS DUSTING
It is important to wipe up spills and splatters immediately. Acidic foods, like pasta sauce and mustard, can pass through the cabinets protective coating if left too long. Prolonged exposure to spills, including food, water and liquids or to oil and grease splatters, can cause permanent discoloration or damage to your cabinet’s finish.
Remember to dry cabinet surfaces immediately after cleaning using a soft, clean cloth.
REGULAR DUSTING
Use a clean, soft lint-free cotton cloth for regular dusting. Packaged dusting sheets are not recommended. Do not use pre-moistened dusting sheets and do not use aerosol products made for dusting.
WAXING AND POLISHING
Waxing is not required or recommended. Over time, waxing and polishing compounds may build up on the surface of your cabinets and cause a hazy, streaky or yellowed appearance. This wax build-up is very difficult to remove.
CLEANING GLASS DOORS
Extra care is required when cleaning glass doors. Spray an ammonia-free glass cleaner on a clean, soft, lint free cloth or paper towel. Do not spray cleaner directly on the glass. It can seep behind the glass and damage the cabinet door.

Source - MasterBrand Cabinets
SCRATCHES, GOUGES AND NICKS
A Touch-Up Kit is available to hide surface damage. Contact the business where you purchased your cabinetry to purchase the color matched touch-up kit for your specific cabinets. Use the kit’s touch-up marker to hide minor blemishes. Use the tinted putty stick to fill deeper scratches, gouges or nicks. Detailed instructions are provided in each kit.
If your cabinets are existing, purchase markers and fill sticks like the ones shown below. Choose the color closest to your cabinet finish. You can combine two colors to get a closer match.
AVOID MOISTURE DAMAGE
Avoid draping damp clothes or dishtowels over cabinet doors. Moisture can cause permanent damage, such as peeling and discoloration, to the cabinet’s finish. If cabinet surfaces get wet, dry them immediately using a soft, clean cloth.


AVOID HEAT DAMAGE
The heat generated when using your oven’s self-cleaning feature is much greater than during normal cooking. If this heat escapes from the oven, it can damage your cabinets. While this is a rare circumstance, you can minimize the risk of cabinet damage by removing cabinet doors and drawers nearest the oven before using its self-cleaning feature.
AVOID LIGHT DAMAGE
The suns Ultra Violet (UV) rays are powerful and have an effect on the appearance of your cabinetry. Exposure to direct sunlight darkens the color of natural wood products. It has a drastic effect on woods like cherry but even maple yellows and oak greens over time. Sunlight will also fade painted wood, laminated and thermofoil surfaces. Install window treatments to help shield your cabinets from direct sunlight.
YEARLY MAINTENANCE
We recommend giving your cabinets a thorough cleaning at least once a year. Late fall is a great time for cleaning and inspection. It prepares your kitchen for cooking and entertaining before the holiday rush. It is also a perfect opportunity to clean out expired food and spices. Once everything is cleaned out, take an inventory of your pantry supplies and make a shopping list for baking and holiday meals.
Empty your drawers and clean out any crumbs and dust using your vacuum hose. Wipe out the drawers with a soft cotton cloth dampened with warm water. Allow the drawers to air dry before putting everything away. Make sure to align the drawer guides and check that they are gliding smoothly.
Step back and check for any crooked or misaligned doors. The door hinges are easily adjusted with a screw driver. Most newer cabinetry uses a 6-way adjustable hinge. This allows you to adjust the hinges up/down, in/out and side to side.
Replace any missing bumper pads from the inside of the doors and drawer fronts. Over time these may loose their adhesion due to moisture, heat or changes in temperature and humidity.

Finally, schedule a reminder on your calendar to deep clean and inspect your cabinets. Make sure it repeats yearly and include a link to this article for reference. Scheduling home maintenance tasks makes it easy to remember when things need to get done. While you're at it, re-seal any granite, natural stone and grout. And check your smoke detector batteries!
How often do you deep clean your cabinets? Do you have any cleaning tips? Let us know in the comments.


